The Fastener Is the Seal: Auditing Flange Bolts on Hot Hydraulic Pipework
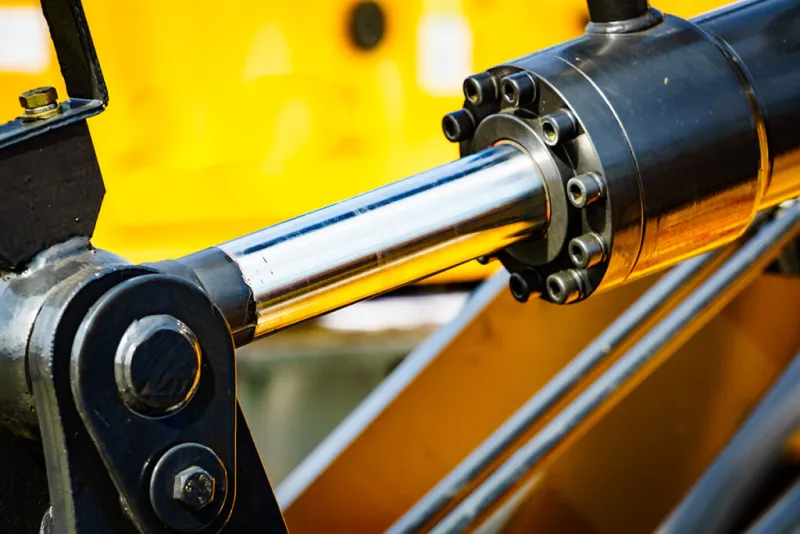
Photo: hydraulic split flange pipework bolts torque wrench maintenance, via hydraulicsonline.com
A damp patch beneath a high-pressure hydraulic joint is a persuasive thing. It draws the eye to the O-ring or seal, and the natural response is to break the joint, fit a new seal and tighten the bolts again. On SAE and split-flange pipework, that response can be correct, but it is just as often a temporary repair that hides a fastener or alignment fault. The seal fails because the joint has lost its preload, because the flange faces are not parallel, or because pipe strain is working against the bolts. The leak is the symptom; the flange bolt is frequently the root cause.
Start With the Joint, Not the O-Ring
Before disturbing a weeping flange, record its condition. Clean the area with a lint-free cloth and note whether the fluid appears at the bore, around the O-ring land, or between the flange faces. A seal that has extruded into the gap points to loss of clamping force or excessive clearance. Fluid emerging from a bolt hole or between the split-flange halves suggests a different path and should not be treated as a simple seal renewal.
Check that the correct flange type and pressure class are fitted. SAE J518 and ISO 6162 joints are common on UK skids and power units, and Code 61 and Code 62 components are not interchangeable. Verify that the flange head, split halves and bolts are matched to the port and that the bolts are the specified grade and length. A mixture of fastener grades, washers and plated finishes on one joint is a reliability problem before it becomes a leak.
Witness Marks and the Thermal Cycle
High-pressure hydraulic pipework on power units and skids does not sit at a constant temperature. It warms during the working shift, cools overnight and may run cooler again after a weekend shutdown. Differential expansion between pipe, flange and manifold can relax bolt preload even when nothing has been touched. A joint that was correct when assembled cold may weep after several thermal cycles.
Apply a thin witness mark across each bolt head and its flange land after the initial torque. Use a paint pen rather than a scribe. At the next planned inspection, the mark shows whether a bolt has rotated. A bolt that has backed off should not simply be re-tightened without investigation: check for thread damage, incorrect washer fit, galvanic corrosion or a flange face that has deformed. Where bolts remain visually undisturbed but the joint weeps, preload loss may still be present, and a calibrated re-torque check is warranted.
Flatness, Gap and Pipe Strain
With the system isolated and pressure released, separate the joint and inspect the mating faces. Clean them without abrasives that can round the sealing land. Check flatness with a straight edge and feeler gauge or, where available, a surface plate and dial indicator. The acceptance limit should come from the flange manufacturer or the relevant standard, not from workshop habit. A face that is visibly dished, scored or corroded around the O-ring groove needs replacement, not additional sealant.
Assemble the joint without the O-ring and check the gap between the flange faces around the circumference. A uneven gap indicates misalignment, a distorted flange or pipe strain. Do not use bolt torque to pull a misaligned pipe into position. That puts a bending load into the joint and reduces the effective clamping force on the seal. Support the pipe independently, correct the run, and confirm that the flange faces meet evenly before fitting the seal.
Split-flange halves should seat correctly in the flange groove and should not be mixed from different sets. Inspect the groove and the split halves for fretting, burrs and deformation. A flange that has been repeatedly tightened with poor alignment may have worn its groove, allowing movement under pressure pulses.
Torque With Intent
Flange bolt torque is not a single figure that can be applied from memory. It depends on thread size, bolt grade, surface finish and, critically, lubrication. A dry bolt and a lubricated bolt can require very different torque values to achieve the same preload. Always use the flange or equipment manufacturer's published figures for the specific fastener and lubricant condition. If a lubricant is specified, apply it consistently to the thread and under-head contact face.
Tighten in a crosswise sequence in stages, not to full torque in one pass. For a four-bolt joint, bring the bolts up evenly so the flange is drawn down parallel. For larger or irregular patterns, follow the manufacturer's sequence. Use a calibrated torque wrench and record the final setting. Impact wrenches have their place in dismantling, but final tightening should be controlled.
After the joint has been through a full thermal cycle, re-check torque at the next safe opportunity. This is especially important on skids that run hot and then cool in a damp UK workshop. Allow the joint to return to a consistent reference temperature where practical, and follow the OEM procedure for re-torque. If a bolt moves significantly on re-check, investigate rather than repeatedly chasing it.
What Fretting and Extrusion Reveal
Fretting appears as fine dark debris or polished wear marks between flange faces, split halves or under bolt heads. It indicates small relative movements that should not occur in a correctly preloaded joint. Extrusion shows as a thin, nibbled edge of seal material forced into the flange gap. Both are warnings that the joint is moving or that clamping force is insufficient.
A blow-out rarely arrives without warning. Weep marks, loose bolts, fretting debris and a widening gap are all precursors. Where a joint has suffered a sudden loss of seal, inspect the flange faces and bolt threads before reassembly. A stretched bolt, damaged thread or deformed flange will not be corrected by a new O-ring.
A Tagging and Re-Check Schedule
For maintenance teams responsible for several skids or power units, a simple tagging routine pays dividends. Give each high-pressure flange a unique tag or record on the asset register. Record the date, torque setting, lubricant used, bolt grade and any alignment correction. After the first thermal cycle, mark the joint for re-check. Thereafter, include it in the planned maintenance route at a frequency based on duty: more often for joints that run hot, pulse or are exposed to vibration.
At each check, look for weep marks, disturbed witness marks, corrosion and fretting debris. Re-torque only where the procedure allows, and replace fasteners where thread damage or loss of coating is evident. Keep a small stock of correct-grade bolts and seals so that a joint is not rebuilt with whatever is nearest to hand.
The flange bolt is not a secondary detail. It is the component that holds the seal in its intended condition. Auditing preload, alignment and face condition moves the maintenance effort upstream of the leak and gives UK hydraulic plant a better chance of staying dry between planned shutdowns.