Dead Legs and Dirty Ports: A Field Audit of Hydraulic Sampling Points
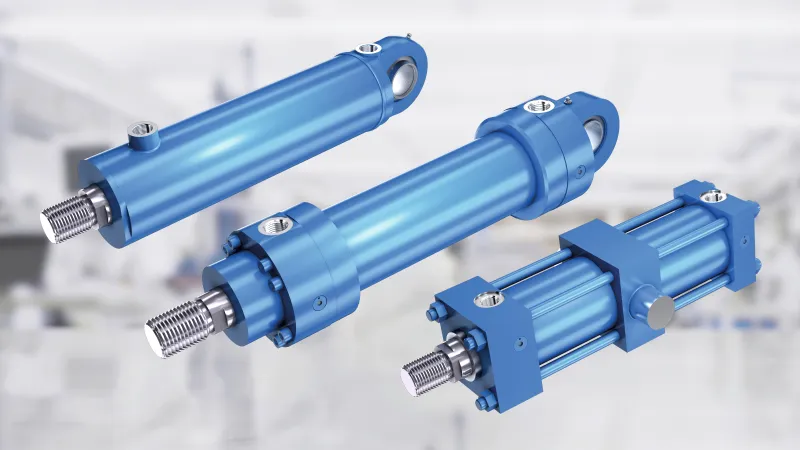
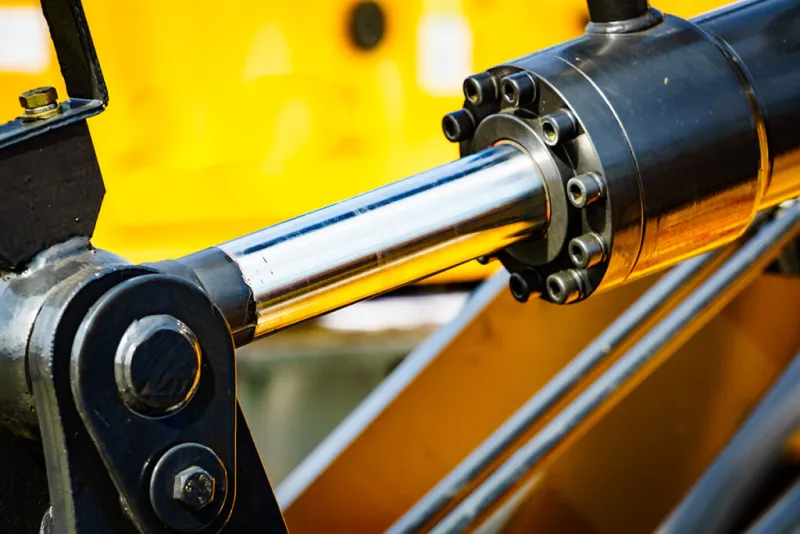
Photo: hydraulic oil sampling test point maintenance engineer UK workshop, via dc-mkt-prod.cloud.bosch.tech
Oil analysis is often treated as a laboratory service: draw a bottle, send it away, read the report. In practice, the laboratory analyses only what arrives in the bottle. If the sample has been taken from a stagnant tee, a dirty test point or the wrong side of a filter, the report may be precise, consistent and still unrepresentative of the hydraulic system. For UK maintenance teams, the cost is not only the test fee but the follow-up work triggered by a false alarm or, worse, the fault missed because the trend looked healthy.
The sampling point is part of the measurement
A hydraulic sample is a very small volume taken from a large, dynamic circuit. It can only be representative if the oil is drawn from a live, flowing part of the system, at a point where the fluid is well mixed and where the sample line does not hold old oil. Particle counts to ISO 4406 are particularly sensitive to sampling practice. A few milligrams of dirt from a test-point cap, a corroded nipple or an inadequately flushed adaptor can raise the count by more than a real change in system cleanliness.
The same principle applies to wear metals. A sample from a dead leg may contain settled debris from months ago, while a sample taken downstream of the return filter may look clean because the filter has already removed the evidence. Neither result is wrong in isolation, but neither supports a reliable trend unless the point and method are understood.
Map the circuit before choosing the point
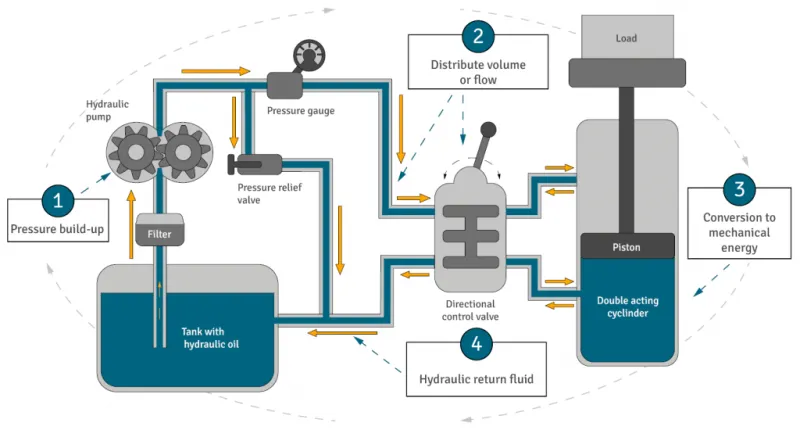
Before auditing individual test points, sketch the relevant circuit. Identify the reservoir, main return line, pressure line, filters, coolers and the components whose condition is being monitored. Then ask what the sample is for. System cleanliness, filter performance and component wear are different questions and may require different sampling locations.
For most condition-monitoring programmes, a return-line sample upstream of the main filtration and downstream of working components gives a useful view of what the system is carrying. A sample taken after the filter is useful for checking filter performance, but it can mask upstream wear. Reservoir samples have their place for bulk water or sediment checks, but a sample from the top of the reservoir or from a long drain leg is a poor basis for an ISO 4406 trend.
Record the chosen point on the asset register and on a simple schematic. A sample point that is not identified on a drawing is likely to be used inconsistently, especially when shifts change or contractors attend site.
Hardware check: test points, caps and dead volume
Inspect each sampling point as a piece of equipment in its own right. Check the test point type, cap, seal and nipple. A missing cap is an open door for airborne dirt and water, particularly in a damp UK workshop. A weeping connection attracts contamination and makes the point difficult to clean. A long adaptor or an unused tee creates a dead volume that must be flushed before a representative sample can be drawn.
Operate the sampling valve and confirm that it opens fully and gives a steady flow. A restricted or partially blocked point may produce a weak stream that does not purge the line properly. Replace damaged or unsuitable points rather than working around them. Where a point is used for particle counting, keep it clean, capped and dedicated to sampling.
Flush with a calculated volume, not a habitual squirt
Flushing is the step most often reduced to habit. A short burst may clear the visible dirt but leave old oil in the adaptor and sample line. The required flush volume depends on the dead volume of the point, nipple and any sampling probe. As a field rule, flush several times the dead volume and continue until the flow is steady and the fluid looks representative. For particle counting, a more generous flush is prudent, often around ten times the dead volume, adjusted for the actual arrangement.
Do not flush onto the floor or into a rag that sheds fibres. Use a clean waste container and keep the sampling bottle closed until the flush is complete. Avoid adjusting the valve during sampling unless the procedure requires it; a changing flow can draw in air or disturb the sample.
Bottle handling in a damp UK workshop
Use the laboratory-supplied bottle and follow its preparation instructions. Do not open the bottle until the sample is about to be taken. Wear clean gloves, keep the cap in a clean place and avoid setting it down on a bench or machine surface. If sampling outdoors or near a doorway, shelter the point from rain and airborne dust. Fill the bottle to the recommended level, usually around three-quarters full, and cap it immediately.
Label the bottle with the sample point ID, date, time, machine hours and oil temperature. Record the sampling method and any deviation from the normal routine. If the laboratory supplies a field blank, use it as part of the programme; it helps distinguish bottle contamination from system contamination.
When the numbers do not fit: troubleshooting notes
A particle-count spike with no corresponding rise in wear metals should prompt a check of the sampling point before any strip-down. Inspect the cap and nipple, review the flush volume and consider whether the bottle or sampling environment contributed. Re-sample at the same point with a known-good procedure before condemning the oil or the components.
A wear-metal result that falls sharply after a filter change may indicate that the sample was taken downstream of the filter rather than from the normal upstream point. If the sampling location has changed, the trend has changed with it; reset the baseline and record the reason.
Wide variation between consecutive ISO 4406 results usually points to method instability rather than a real system change. Check for live flow, adequate flush and consistent bottle handling. Water results that are high in the first bottle but normal in the second can indicate condensation or contamination at the test point; purge and repeat before treating the result as a system problem.
Making the audit routine
Add sampling points to the planned maintenance schedule and inspect them at least annually. Label each point clearly, keep photographs of the correct arrangement and state the required flush volume on the sampling procedure. Train everyone who takes samples, including contractors, and audit the method periodically. The laboratory report is only one link in the chain. The first link is the sample point, and it deserves the same attention as the oil itself.